Quilted Border
For weeks (months?) I've been going on about finishing up projects to empty storage boxes on my studio shelf. This quilt (below) emerged from some half-square triangles and flying geese units.
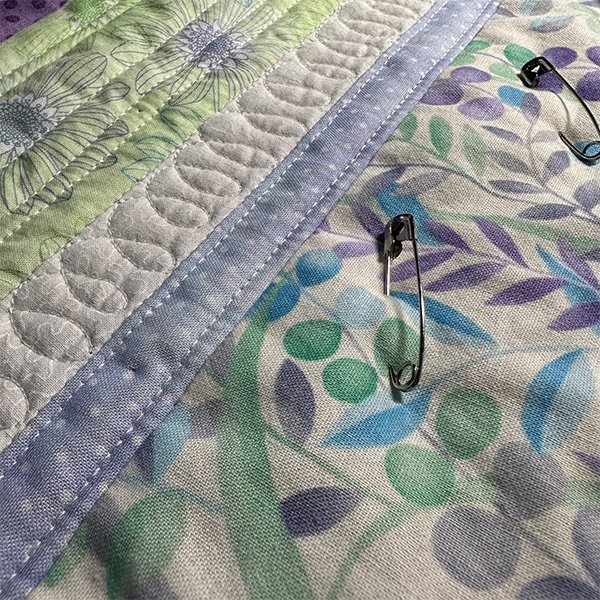
Last week, I started quilting the project. And I was well on my way to finishing the quilting this week.
In fact, I did finish quilting the center of the project, then moved on to the borders. First border of simple swirls; second narrow border a couple lines of edge stitching to create a ribbon feel. Great!
Then things took a turn. . .
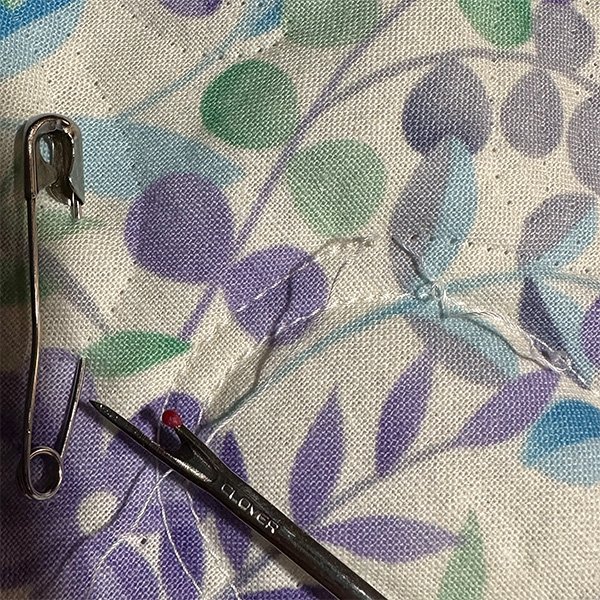
I started in with the quilting on the larger outer border . . . and I hated it.
I finished one side and knew it had to go. I've spent too much time working on this (don't you know!) to duff the last major step.
Another day, another . . . opportunity for some reverse sewing.
I'm good with it. Sometimes backwards steps in the creation process are opportunities . . to stop, breathe, and re-evaluate. It's not a straight-line process. The right solution will come, in its own time. Let it rest, and I will find something different to work on for a short spell.
Another Day, Another . . . Box of Scraps!
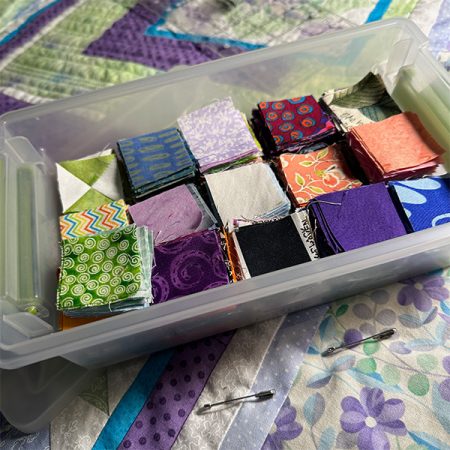
Here on the Hummingbird Highway, Scrap fabrics are never in short supply. Last week, I was clearing off one of the cutting counters and came across this box of scraps. They were put aside separately from my ScrapTherapy bins because they are cut to 1-1/2" square - smaller than the smallest size I discuss in my books.
I must have had a specific purpose for these at some point. Or not. Still and all, here they are! And it's their turn in the Great Sewing Studio Clean Up.
Another Day, Another . . . Four Patch
These small squares are really scrappy, and, working from the box of 1-1/2" scrap squares, I made several mini stacks on my work table and just started combining colors randomly into four patches that measure 2-1/2" square. Pretty Small. And cute!
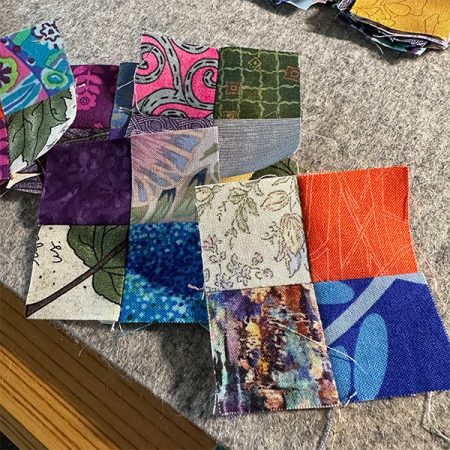
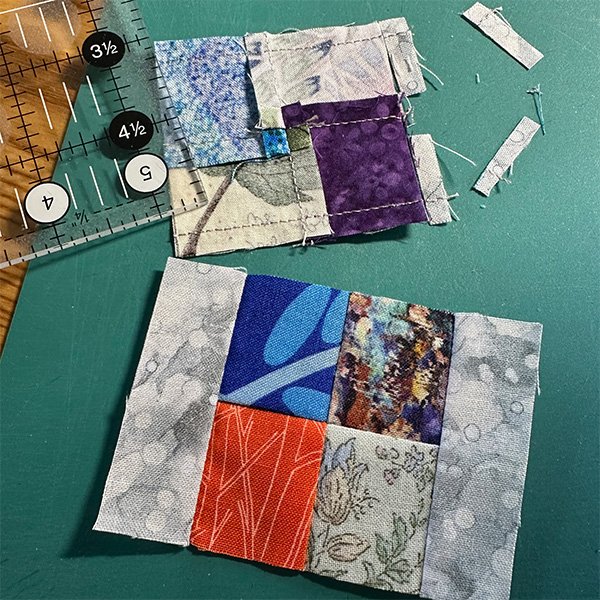
I had some light gray fabric that was mis-cut for a quilt kit. For this project, I was leaning toward using white for the blocks, but the gray will do, and another chunk of fabric will find its home in the project.
I cut strips 1" wide, then about 3" long (too long and too wide for now, but to be trimmed), then stitched them to opposite sides of the four patch blocks.
Another Day, Another . . . Gadget
I trimmed the ends even with the four-patch block, then I used the smallest BlocLoc log cabin trimming tool to trim width of the gray borders to finish to 3/8"
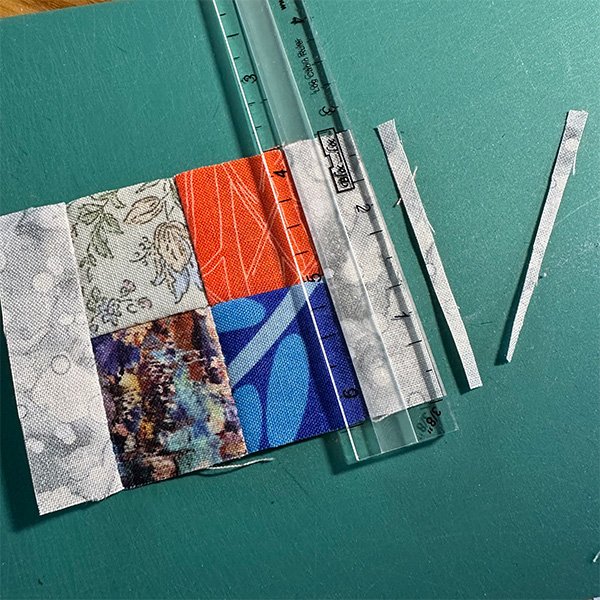
Then added two more narrow gray borders to each four-patch, and trimmed.
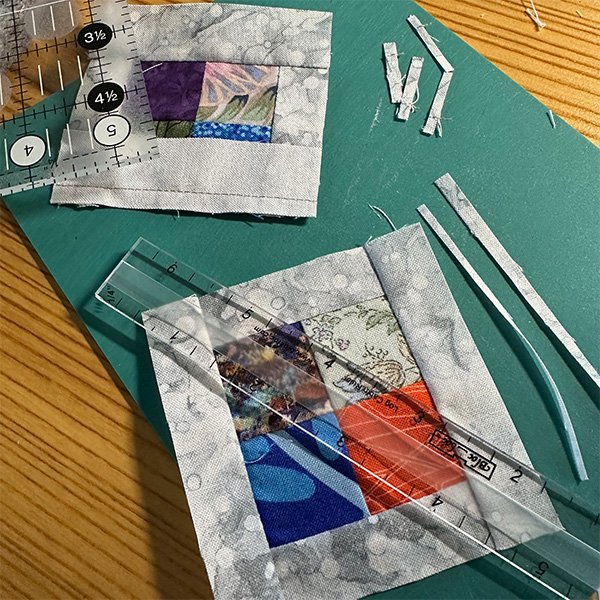
Another Day, Another . . . Box of Strips
As you might imagine, I have plethora of options to add to the scrappy four-patch blocks. In this case, I'm adding scrappy strips, log cabin style. Some strips cut from a box of strips I have been setting aside from time to time, and some from remnants of recent projects. For the blocks, I cut them too big--about 2" wide and 4" and 6" long, then added the smaller strips to opposite sides of the block, and trimmed the strip ends even with the block. . . .
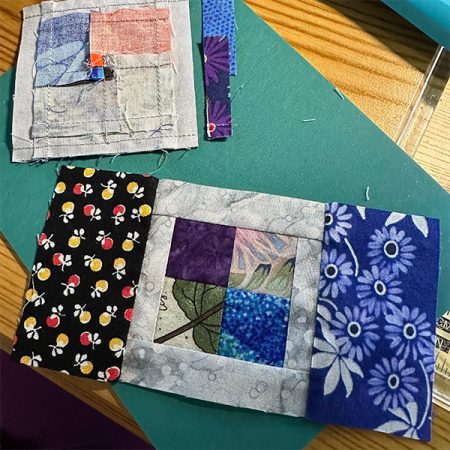
And then, I added the larger strips to the remaining two sides of the block.
And since I have a 5-1/2" square ruler, I am trimming each block to 5-1/2" square. How convenient that the center of the ruler has a marking (red arrow) that I can use to line up the center of the four-patch before trimming each side of the block!
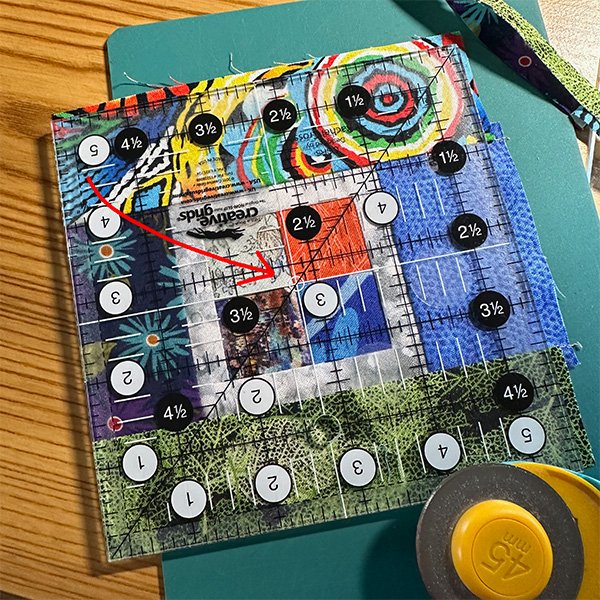
Oh my, we're only just beginning. . .
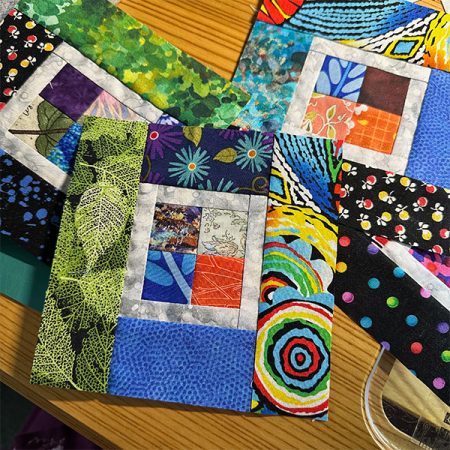
Another Day, Another . . . Inspiration
'Where on earth do I get this crazy ideas from?,' you might ask. I made this table runner (below) a few years ago. I recently pulled it out as inspiration for the straight line quilting on the orphan block quilt mentioned at the beginning of this article. At the time, I had a lot of similar leftover fabrics from some project or other and put those leftovers into these blocks which became this table runner. I suspect the idea for the original project came from a larger log cabin-like project I made, but who knows.
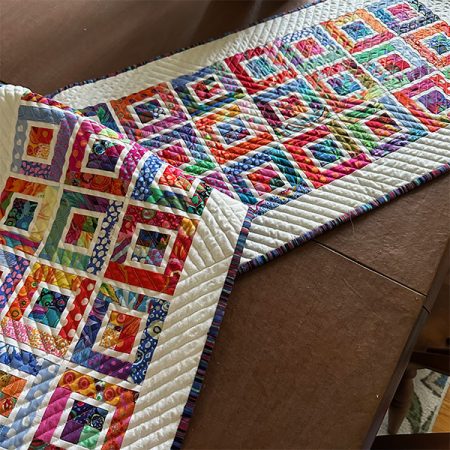
Sometimes good ideas don't go stale. Let's see how a gray version (instead of the white) looks - another table runner? (I doubt it, since I already have one.) More placemats or a quilt? Maybe. I certainly have enough 1-1/2" squares to get started!
Another Day, Another. . . Goal
Where ever it ends up, I think it'll be a fun little busy project that will make a dent in that bin of 1-1/2" scraps. That's the goal. . . Or not. We'll see!
Happy Stitching!

Head Hummingbird
Hummingbird-Highway.com


A few years ago, maybe 10, I purchased your kit from Loving Stitches quilt shop . The name was Snap Sacksmall quilt kit. Pattern name Liberty Belle to make for my husband a Vietnam vet. I made my first one for him but now I want to make some for our veterans that we know. My question is what is the best way to hang it or display it. I have a few tops done but have not made the bottom yet. I left the length what was and did not make it shorter. Any suggestions would be helpful. Thank you for and information you may give. Linda
Hi Linda! What a nice idea to make this for Veterans. If I were you I’d add a hanging sleeve on the back at the top (the top edge of the star block that is). You can purchase small dowels at the art supply store or hardware store and cut them to size. Then hang them on the wall with two small nails or by attaching a length of cotton thread or yarn to both sides of the dowel then hang from a centered nail. I hope this helps.