One by one, I've been choosing from boxes kept in storage on the shelves in my sewing studio. One by one, each new-old project is getting finished, sometimes there were plans for the projects in those boxes, sometimes not.
This project, not too long ago was a stack of half-square triangle and flying geese units.
Now, they are well on their way to becoming a medium-sized lap quilt. I might even have it ready for a holiday gift. However . . .
Before I start choosing the wrapping paper, there are a few more steps to be done . .
Even though the Big Day pattern I'm following to convert these orphan blocks into a full-blown quilt doesn't have mitered borders, I decided to take a little liberty with the original design. The first step was to audition fabrics for the three borders.
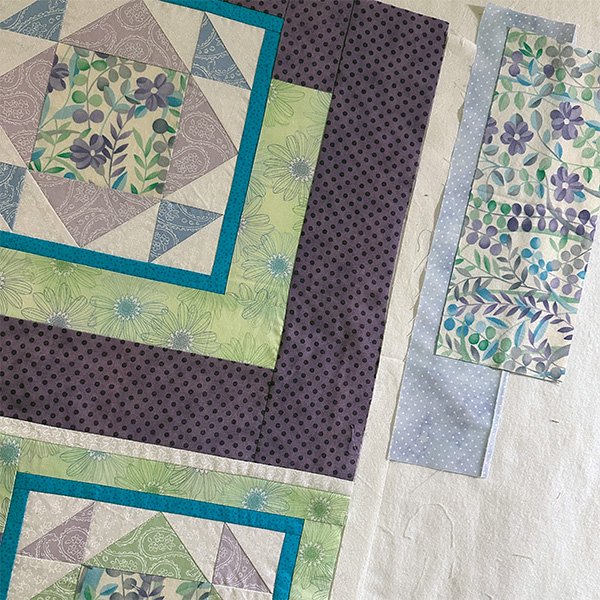
The inner border was easy, I'm sticking with the white fabric I used for the sashing between the blocks. The middle fabric is one that I had considered for the block borders, but decided it didn't have enough contrast with the light green I chose, but it works nicely here. I had just enough left of the fabric I used in the center of each block for the outer border.
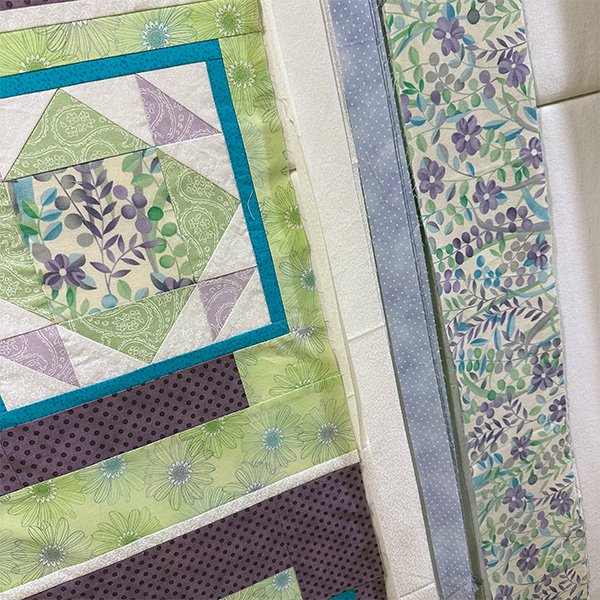
Since the outer border is a directional print, and since I prefer sewing the borders together, then attaching them to the quilt center all at once, I decided to do borders with mitered corners.
I cut strips, sewed them together, then roughly measured them to accommodate the side of the quilt and the little extra for the corner miter.
I'm in the process of sewing the borders together. . .
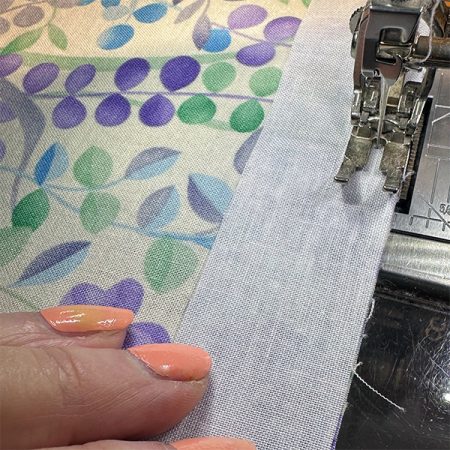
. . . and pressing the seams. Two borders will have seams pressed toward outer border and two will have seams pressed toward the white inner border.
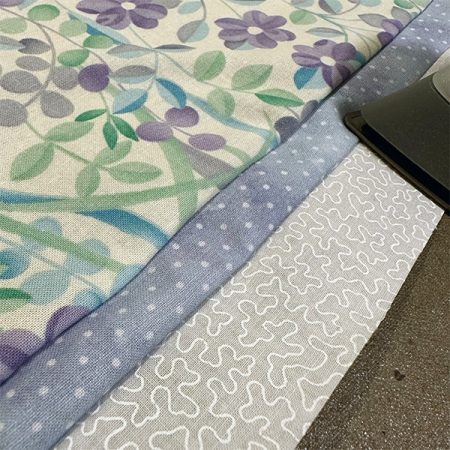
One border sewn and pressed, and back on the design wall for a look-see.
One border sewn and pressed, and back on the design wall for a look-see.
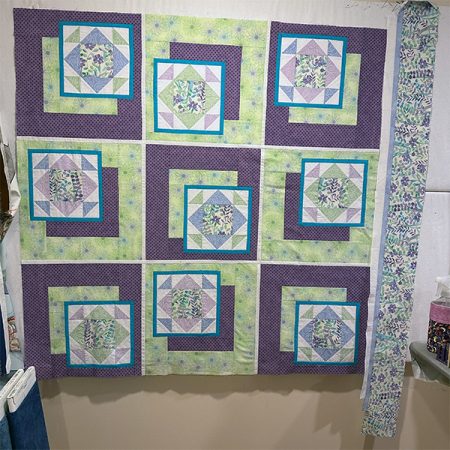
Looking good!
That's as far as I got. More next time. . .maybe!
Happy Stitching!

Head Hummingbird
Hummingbird-Highway.com


Leave a Reply