My sewing focus for the last several months has targeted a number of projects lurking on the shelves in my sewing studio.
A while back, I embarked on a major project to organize those shelves! However, with every new box I opened, I was distracted by the contents of each box. At that point, I decided that 'straightening' just translated to moving stuff around. If the goal was to reduce the clutter, then why not, in fact, reduce the clutter and turn the box contents into finished, usable stuff.
And so it began.
The latest target has been a small collection of similar half-square triangle units and flying geese units. They became nine 8" blocks. And then, with inspiration from the Big Day pattern, were on their way to becoming a cozy lap-sized quilt, with mitered borders.
I've shown the mitering process numerous times in this blog and in my books, so this is a quick photo run-through of the steps.
With borders sewn and pressed, I sewed them to the quilt, leaving 1/4" unsewn on each end.
With the three borders sewn together first, then pressed, each border unit was sewn to the quilt center with adjacent border units pressed in opposite directions. From here on out, I won't do any pressing until everything is sewn and mitered.
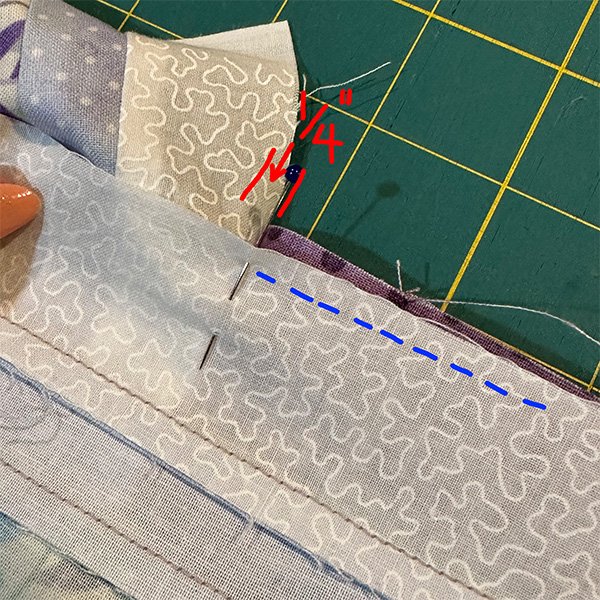
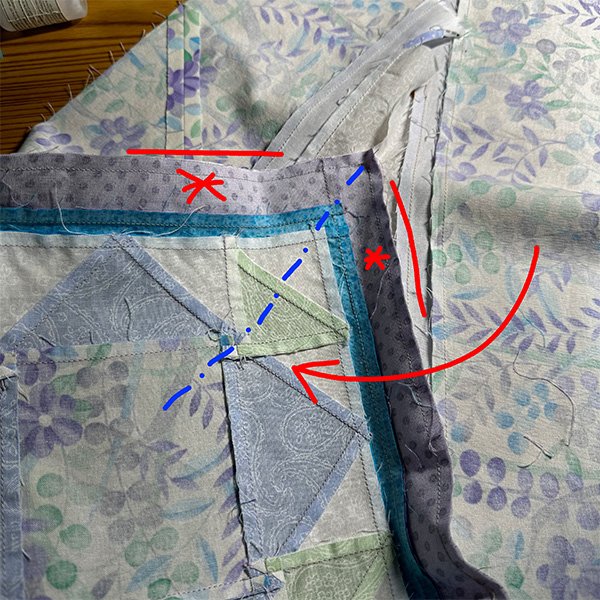
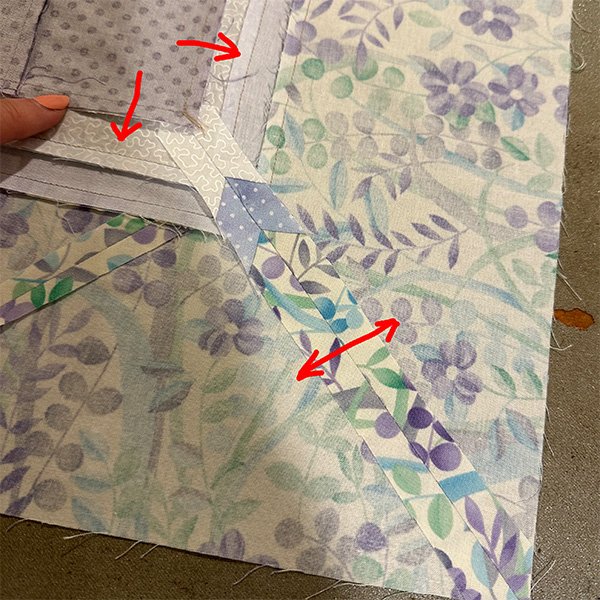
To make a mitered corner, with a corner of the quilt facing right side down on my work table, I fold the corner section of the quilt in half diagonally as shown. . .
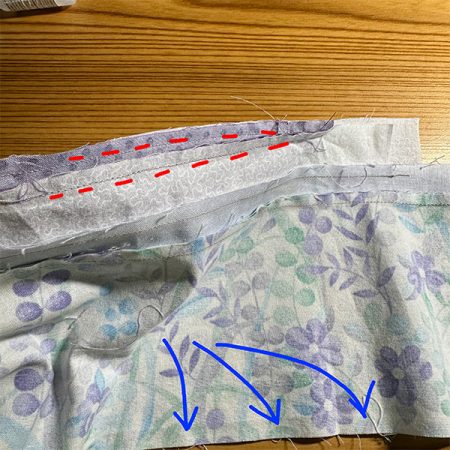
. . . so the floppy border ends extend beyond the diagonally folded quilt center. I align the sewn inner border edge (red dashed line) and then I align the outer border edge (blue arrows), then smooth everything flat on the work table.
I grab a ruler that has a 45-degree angle and align that angled line with the outer border edges, so the ruler edge just touches the fold (between the layers) (red arrow). I nestle the border seams (blue arrows). I draw a line (green dashes) along the edge of the ruler.
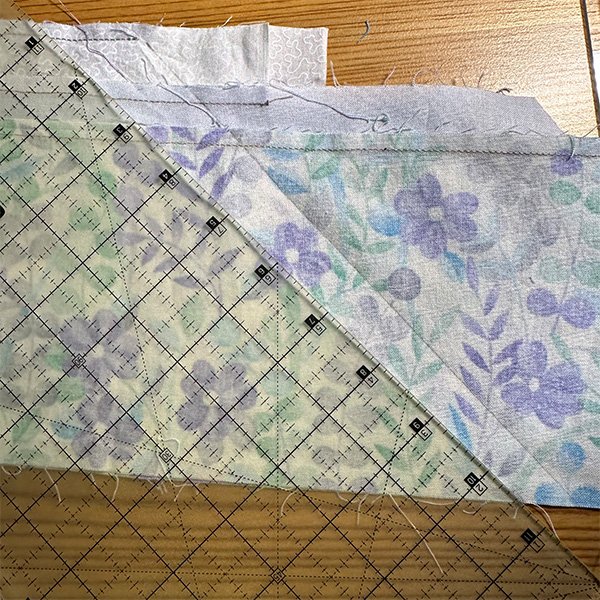
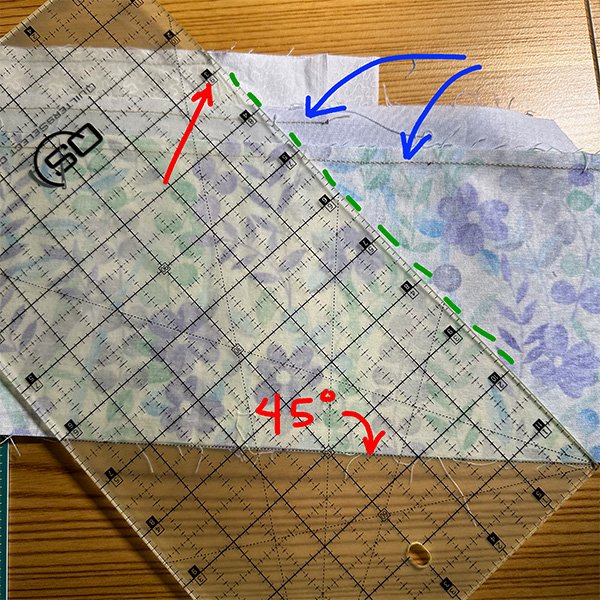
I sew on the drawn line, then take a peek to make sure all the seams are where they are supposed to be. There is still time to make a correction, if needed.
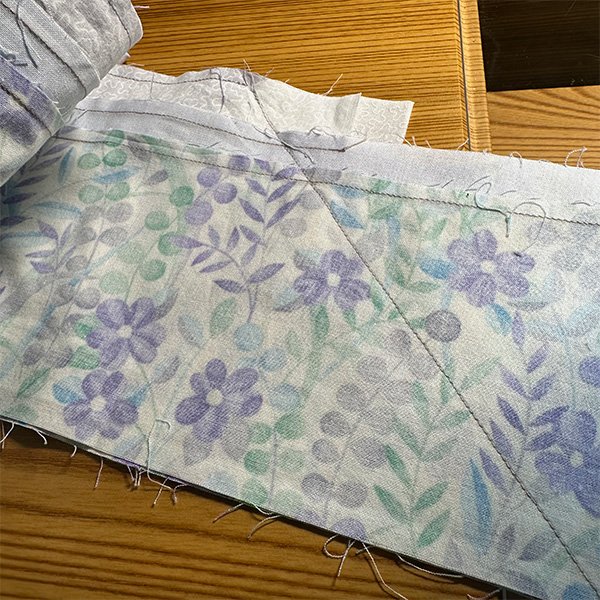
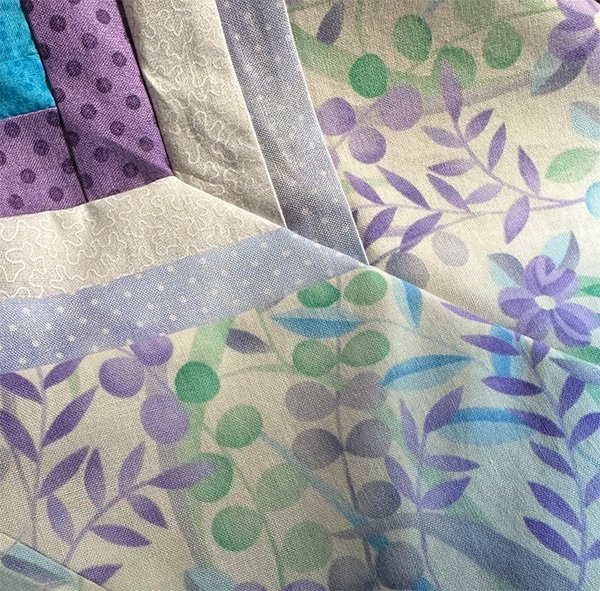
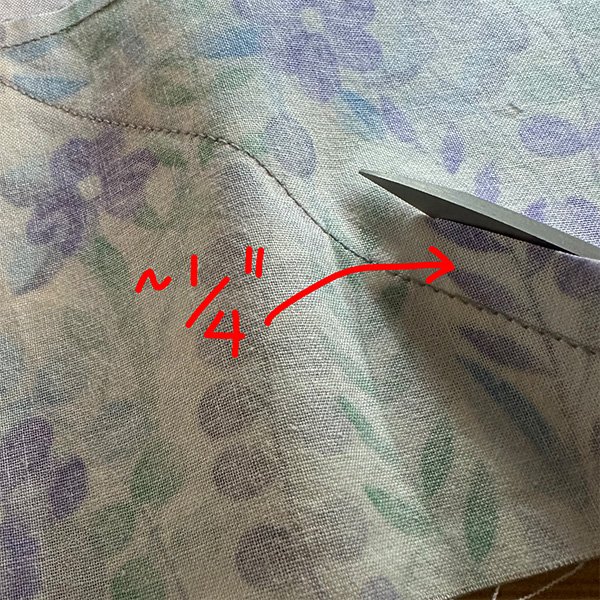
Then I re-fold and cut off the floppy border ends about 1/4" or 3/8" away from the seam
Seams are pressed from the back (the diagonal seam is pressed open, and the border/quilt center seam is pressed outward. Then press from the front while patting myself on the back for a job well done!
At least the first corner is done, three to go!
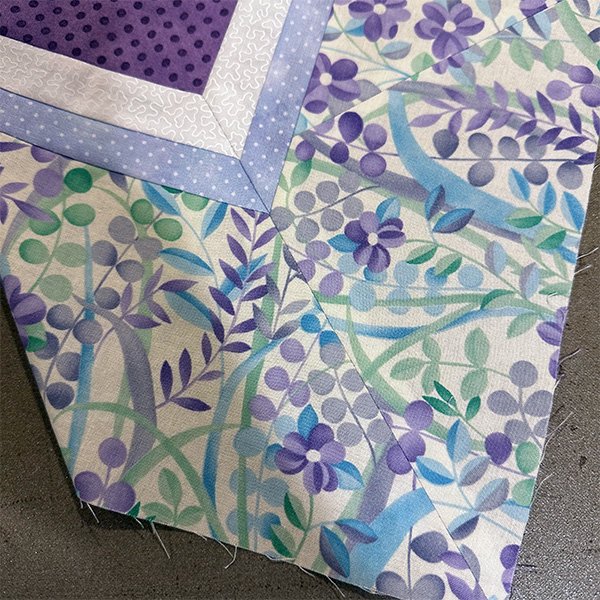
When all four corners are complete, I take advantage of another personal Standing-O. Sometimes I am my own favorite fan! (Why not? You should, too!)
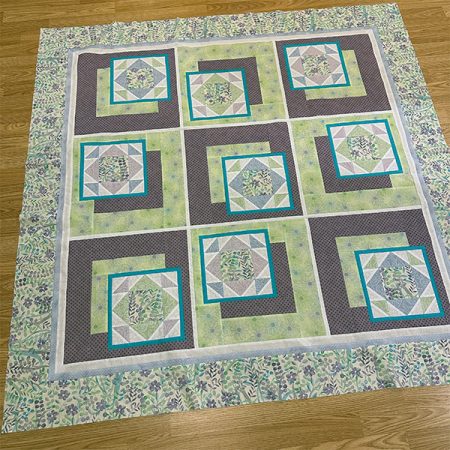
To Be Continued
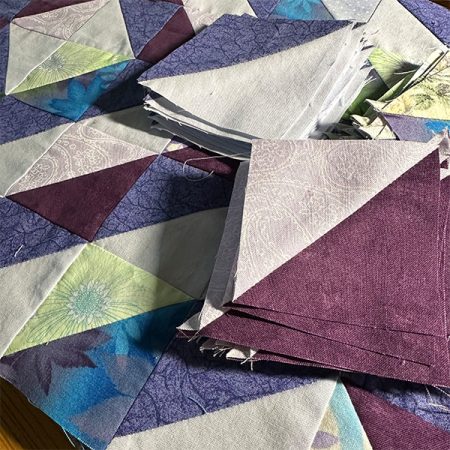
I'm anxious to finish up the lap-quilt with quilting and binding, but I'm afraid my sewing table has been invaded by more triangles from the bottomless storage box. . .
Happy Stitching!

Head Hummingbird
Hummingbird-Highway.com


Leave a Reply